Leveraging Next.js and Serverless: New Website
Just deployed this new website! It's built with Next.js and hosted on AWS. I'm excited to share the details!
2024-02-05
Introduction
Hey guys, I just deployed a new version of my website! I'm excited because this version adopts modern best practices like unit testing, CI/CD and serverless! The main benefits of course being reduced hosting costs and enhanced scalability.
I developed my last website in Ruby on Rails, hosted on a virtual machine with DigitalOcean. I've been wanting to move to a serverless setup for a while now, and I finally made the leap.
Serverless
The site now resides on AWS, utilizing an S3 bucket for file storage (HTML, CSS, JS, assets, etc. ) and CloudFront for distribution on my custom domain. A key reason for this upgrade is the automation of deployment; thanks to Github Actions, each new release triggers the build of SEO-optimized HTML, which is then automatically uploaded to AWS S3.
graph LR
    User -->|www.rgonzalez.tech| CF[Amazon CloudFront]
    CF -->|Serves Files From| S3[(S3 Bucket)]

    Github -->|Push Changes| GA[GitHub Actions]
    GA -->|Build and Upload| S3
This setup is not only cost-effective, but also highly scalable. I can now handle traffic spikes without any manual intervention. Plus, the development workflow is much smoother, as I can now focus on writing content & upgrading my website and not worry about server maintenance, scaling, or deployment.
Markdown
This shift isn't just about infrastructure. It also transforms how I manage my blogs. I've adopted markdown for writing blog posts. I have a directory in my github repository where I write my blog posts in markdown. When the website gets rebuilt (on a new release), the markdown files are compiled into static HTML files.
This approach allows for a streamlined workflow where I can focus on content creation in my preferred text editor, without the overhead of managing a database or wrestling with WYSIWYG editors.
I can also make use of powerful features in Markdown, such as code blocks and mermaid diagrams. For example, here's a simple mermaid diagram that explains the deployment process:
graph LR
    A[GitHub Repository] -->|Publish Release| B[GitHub Actions]
    B -->|Build and Upload| C[AWS S3]
In order to draw that diagram, I just had to write the following markdown:
<pre class="mermaid">
graph LR
    A[GitHub Repository] -->|Publish Release| B[GitHub Actions]
    B -->|Build and Upload| C[AWS S3]
</pre>
Rails to Next.js
The move from Rails to Next.js was a big one. I had to rewrite the entire frontend, but it was worth it. I'm happy to use React for my website and thanks to Next.js, I can now take advantage of static site generation. This means that my website is now faster, more responsive, and more SEO-friendly.
Design
I took the opportunity to redesign the website. I've always been a fan of minimalism, and I think the new design reflects that. I've also made sure that the website is fully responsive, so it looks great on any device.
This redesign was actually generated with the help of GPT. I explained the kind of design I wanted to ChatGPT and I asked it to write the HTML & CSS to help me visualize the design. It was a great starting point.
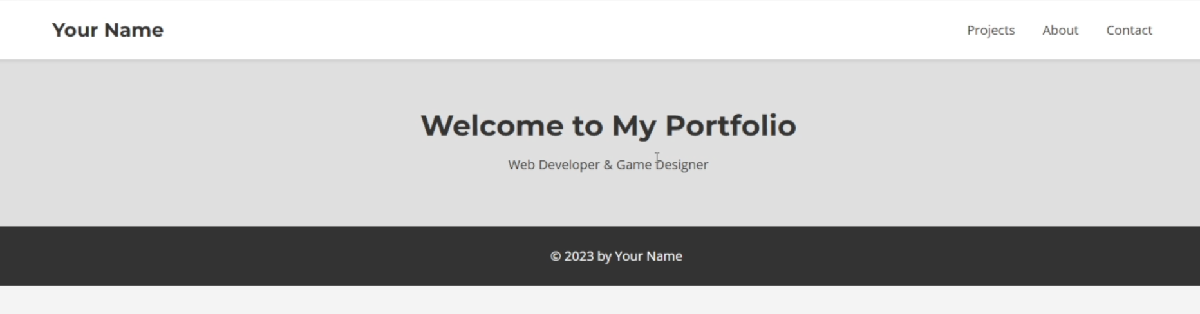
I spent some time in draw.io to create a wireframe for what I wanted the website to look like. (Yes, the background image is also generated by GPT!)
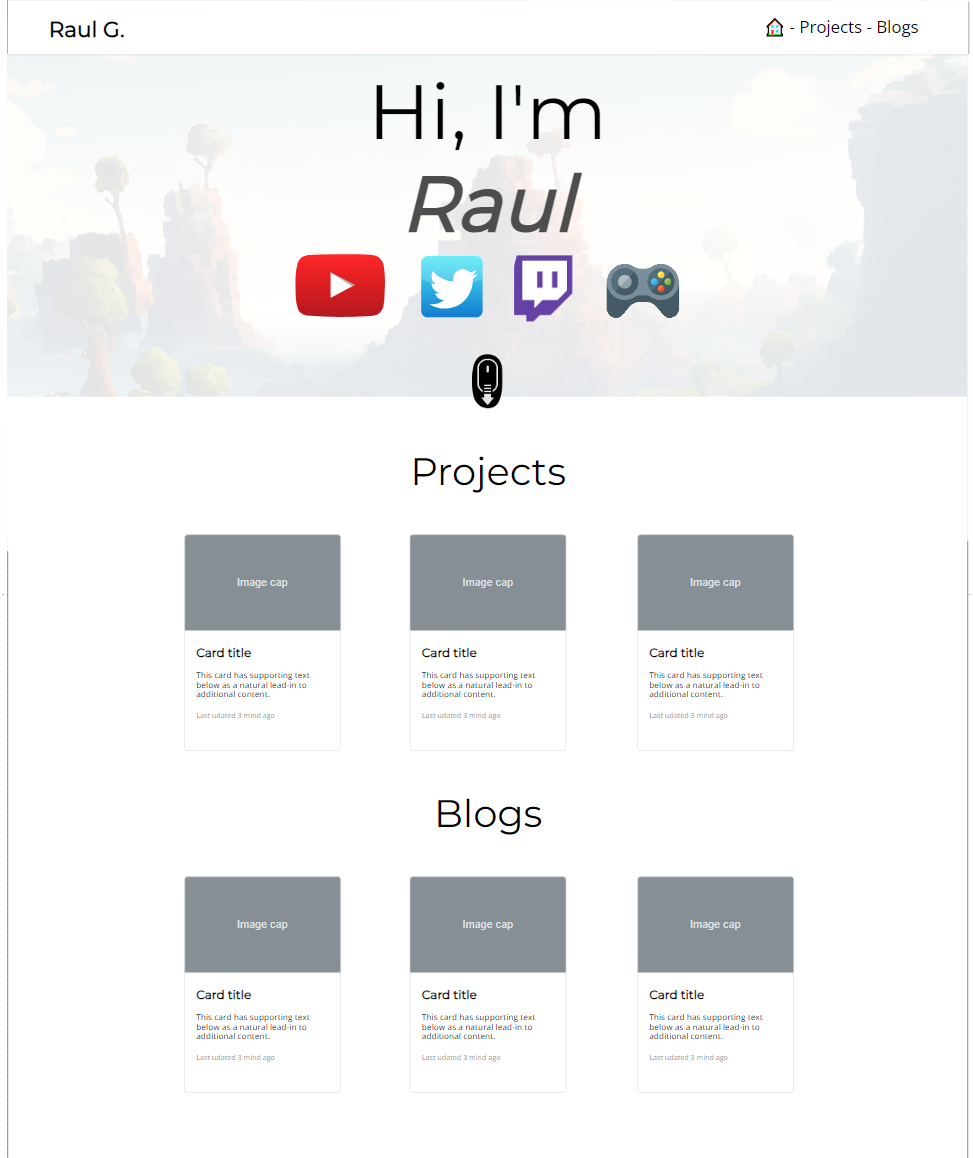
Then, I remixed that with a design generated by the AI over at UIZard. The end result is a website that I'm proud of. It's clean, modern, and easy to navigate.
Migrating Content
Migrating content from my old website to the new one was actually rather simple thanks to the help of ChatGPT and it's data analysis feature.
I was able to upload the .sqlite database directly to ChatGPT and it was able to leverage python to query and manipulate the data from the database for me. I asked it to create an excel sheet containing all the blog posts and their metadata.
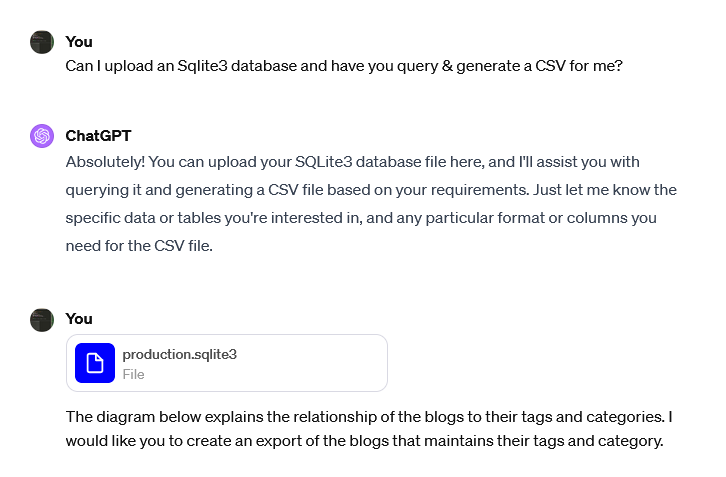
Then, I asked it to use the metadata to generate markdown files for each blog post. It was a huge time saver.

The only remaining task was to get the images & uploaded files from the old website to the new one. Unfortunately, rails active storage doesn't have a direct way to download all the files. So, I had to write a rails script to download all of the files from the old website.
ActiveStorage::Attachment.all.each do |attachment|
  puts "------------------"
  puts "Processing attachment: #{attachment.id}"
  puts attachment.filename
  puts attachment.record_type
  puts "------------------"

  # Get the image data
  blob = attachment.blob

  # Get the record type
  record_type = attachment.record_type

  # Get the filename
  filename = attachment.filename

  # Get the extension
  extension = filename.to_s.split(".").last

  # Get the record id
  record_id = attachment.record_id

  # Create the folder for the record type
  folder_name = record_type.downcase.split("::").last
  folder_name = "#{Rails.root}/tmp/images/#{folder_name}"

  # Create the folder if it doesn't exist
  FileUtils.mkdir_p folder_name

  # Create the new filename
  new_filename = "#{filename}.#{record_id}.#{extension}"

  # Create the new path
  new_path = "#{folder_name}/#{new_filename}"

  # Write the image to the filesystem
  File.open(new_path, "wb") do |file|
    file.write(blob.download)
  end
end
Lessons Learned
I learned a lot from this update. I learned that less is more and that being able to quickly iterate on a design or a project is a huge advantage. I have really enjoyed spending time developing with modern AI-driven tools and I'm excited to see what the future holds. I am now planning on using this website to write more blog posts and document my experiences with modern development practices, tools, and challenges.
I hope you enjoy the new website. I'm looking forward to writing more blog posts and sharing my thoughts with you all. Stay tuned for more updates!